In Part Two of this series, we tackle wall tiling!
If you're ready to get into that DIY project you've been putting off, we're here to help and in this series, we'll walk you through best practice installation.
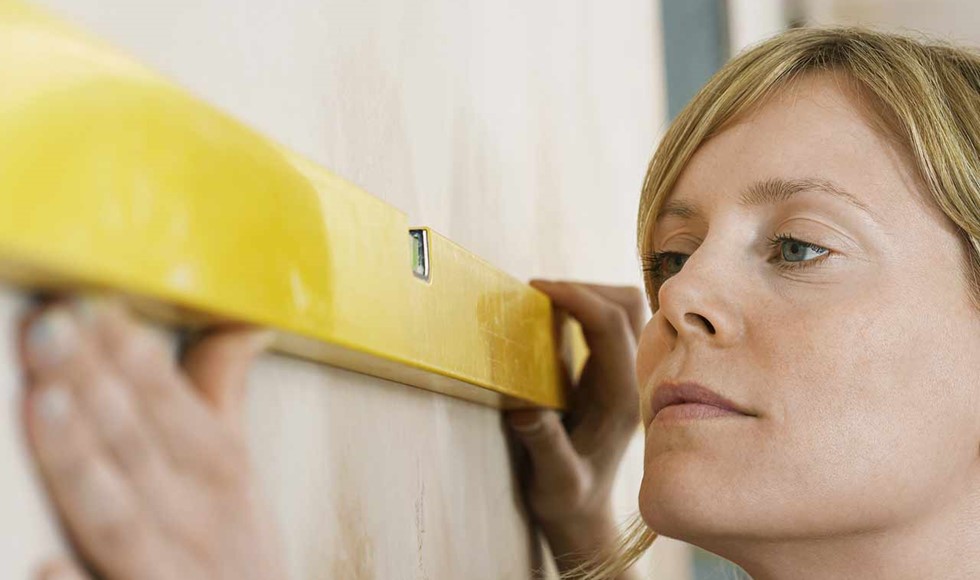
The thought of tiling your own walls may be daunting prospect, but with the right preparation and by using the right tools, it’s a lot more straightforward than you may think.
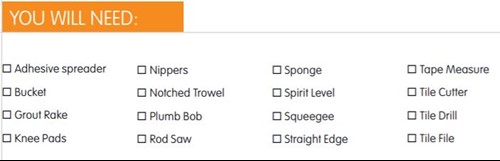
Before you start, make sure the surfaces you’ll be working on are clean, dry, and flat. If you’re tiling over wallpaper, strip it back to the plaster and fill in any holes or cracks. Check the new plaster is dry before you start. As with all DIY jobs, proper preparation and your safety come first. Below is a list of materials, and tools you’ll need to get the job done in a safe way and to a high standard:
The first step is working out how many tiles you need, and to do that, you have to calculate the area of the space you’ll be covering. Measure the height and width of the space then multiply the figures. Be sure to factor in the area of any doors, windows, or cupboards and subtract this from the total. As a buying guide work out the net area and then add 10% extra tiles for square laying and 15% extra for diagonal laying. This should give you enough tiles for cutting and some spares. The waste percentage may vary if your room has lots of odd angles or is an unusual shape.
It’s always advisable to start tiling your grid in the centre of the wall, as it’s easier to make sure your pattern is symmetrical. It also means any half-tiles you may need can go at the end of each row and will be of matching size. While it’s tempting to begin in the corner, it may leave you with wonky rows and a messy finish by the time you’re done.
Key Tip: A common misconception is that if an area is tiled then it is waterproof. The fact is that tiles and grout do not provide an effective waterproof barrier. An effective waterproof barrier is one that is seamless and does not allow water to penetrate the substrate. Tell our well-trained staff exactly what your intended project is and we will provide the correct information and select the right product for you.
Tiling A Splashback
Tiling a splashback will depend almost entirely on the shape of your basin. If there’s a straight or even slightly curved back, measure the wall’s depth in multiples of whole tiles. A more pronounced curved means you’ll need to cut tiles to fit and allow for a row of half-tiles closest to your basin. If there’s only a slight curve, or the edge is totally straight, you can lay the first-row level to it without having to cut tiles. We suggest using spacers to guide you while the adhesive dries, available at Tile Warehouse. These can then be removed and the join filled with sealant.
Ready to get started? View or download our full DIY Wall Tiling Guide, HERE >>>
We're also here to help! Our in-store staff are trained and knowledgeable and can help you save time and money with guidance on design and best practice.
Being motivated to save time and money by doing the hard yards is commendable and we want to ensure you have successful results. We have 32 stores Nationwide to give you guidance and advice. CLICK HERE to find one near you.
Tile Warehouse - Design made easy from the floor up!
![]()