


 1 Minute Read
 May 07


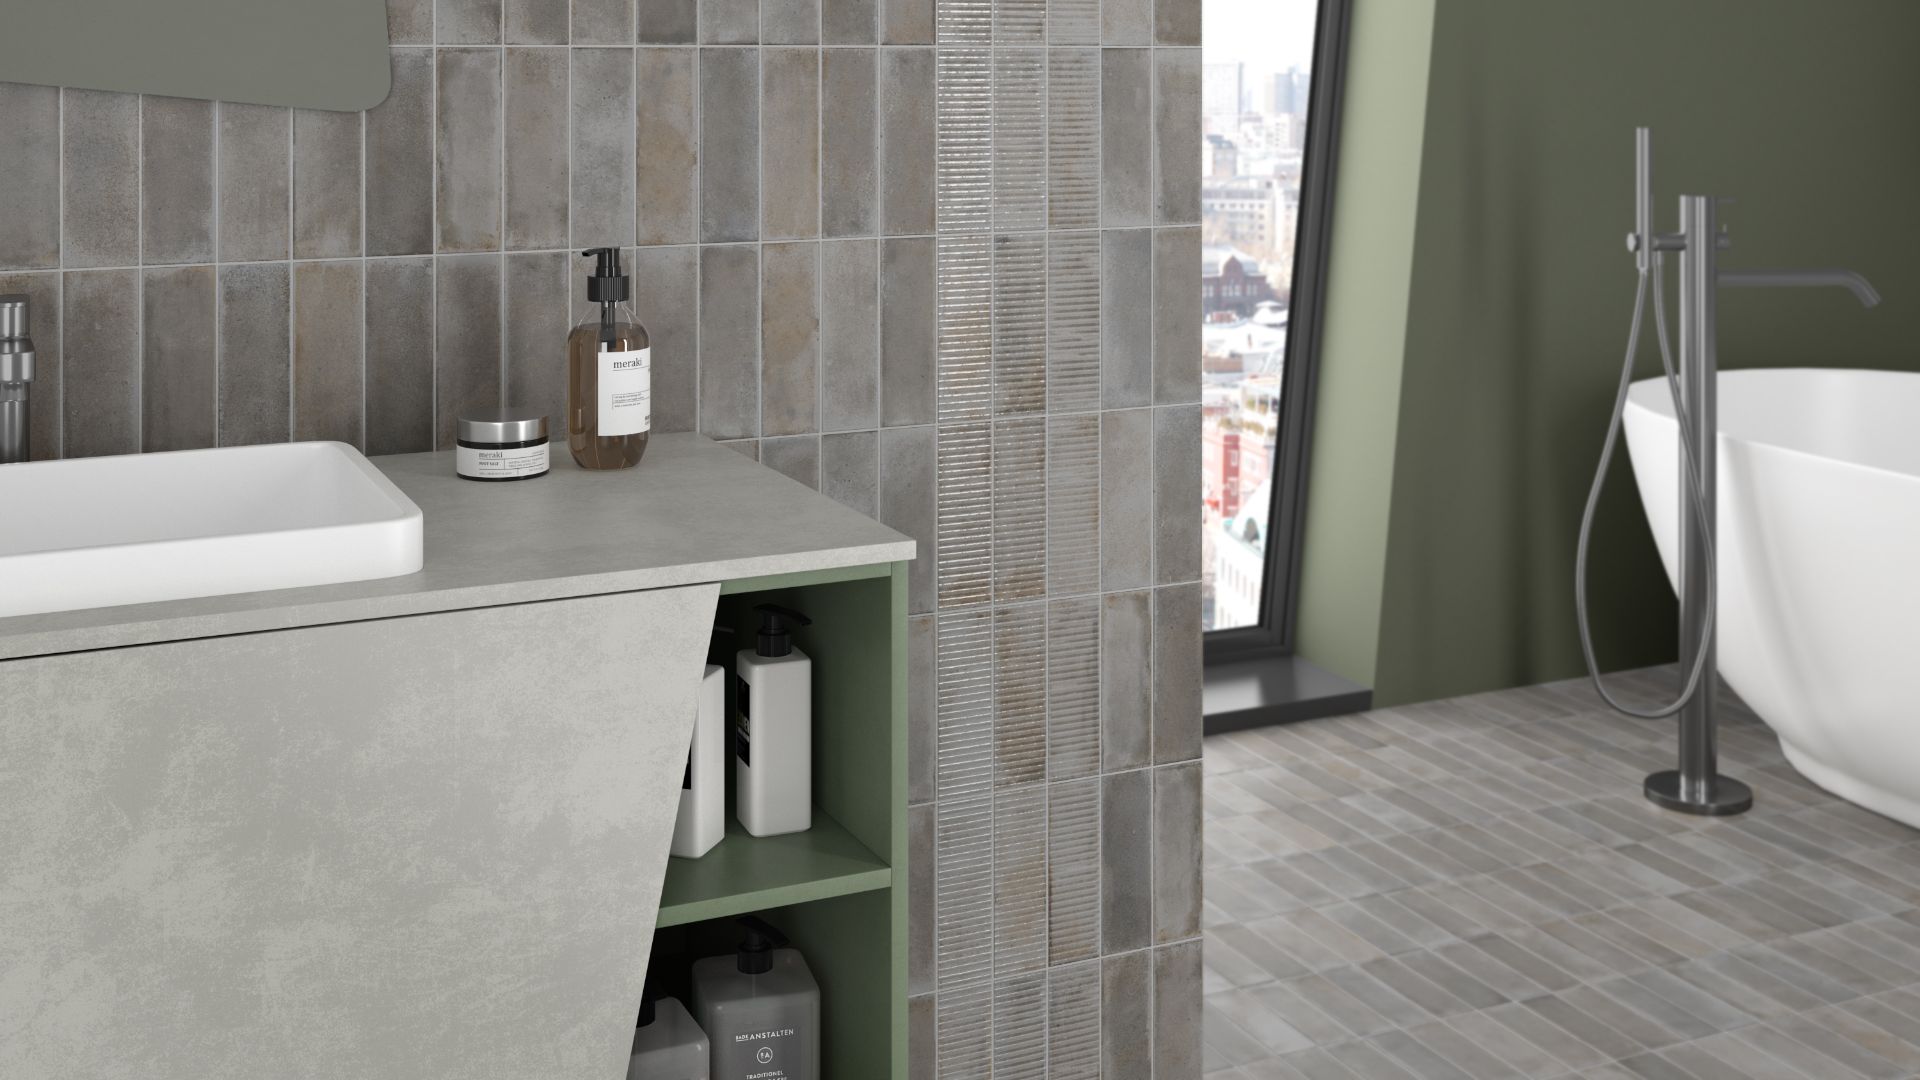
An Easy Guide to Tile Cleaning & Maintenance
Cleaning tiles is simple so long as attention is given to the type of tile, local water conditions (like hardness), etc. Below we outline some best practices to easily clean and maintain your tiles:
1. General Cleaning Routine
A quick once-over with a broom, vacuum, or microfiber dust mop once or twice a week prevents dirt from becoming grime. It’s the easiest way to keep your floors looking tidy with minimal effort.
If floors need a deeper clean, mop with warm water and Aquamix Cleaner for Tiles & Stone.
NB: Avoid bleach or ammonia on natural stone or unsealed tiles.
2. Grout Maintenance
Grout doesn’t have to be high-maintenance! The good news is that modern grouts are easy to maintain and clean and have built in mould inhibitors.
If you notice discolouration, mix a little baking soda and water into a paste. Rub it into the grout lines using a soft brush or old toothbrush, then rinse. That’s it, no bleach required. If that doesn't work, we have a tailored grout cleaner available for purchase, Aquamix Grout Deep Clean.


3. Outdoor Tiles Are Easy Too
Our porcelain pavers do not absorb water as they have a water absorption of below 0.5% so stains are rare. However, if your outdoor space has surface dirt or mould that cannot be removed with a quick brush, hose down with water and a splash of detergent. For stubborn build-up, an eco-safe product like Wet & Forget can be used.
4. Hard Water
Hard water (especially in Rural areas) can leave mineral deposits which show as chalky or cloudy spots.
Primarily from calcium and magnesium in the water, over time these deposits can dull tile surfaces, show as irregular spots and in some instances, stain grout. To manage, regularly clean tiles to help dissolve the buildup (see our safe DIY recipe below). A soft brush or non-abrasive scrubber can assist in gently removing deposits without damaging the tiles. To prevent future buildup, it's important to also towel-dry the tiles after cleaning.
Installing a water softener is another effective long-term solution, especially in areas with very hard water, as it reduces the mineral content before it reaches your plumbing and fixtures. Consistent maintenance and proper ventilation also play key roles in keeping your shower floor clean and free of water deposits.
TIP: In areas of hard water, we recommend choosing floor tiles that are paler in colour such as beiges and creams and avoid darker colourways like charcoals and dark grey.

Our Easy DIY Hard Water Deposit Cleaner
Ingredients:
- 1 cup white distilled vinegar
- 1/2 cup baking soda
- 1 tablespoon lemon juice (optional for scent and added acidity)
- Warm water
- Soft-bristle brush or sponge
Instructions:
1. Pour 1 cup of white vinegar into a spray bottle, bucket or bowl. Add 1 tablespoon of lemon juice (optional).
2. Apply the solution generously over the affected tiles and grout. Let it sit for 5–10 minutes.
3. Sprinkle baking soda directly onto the damp tiles. You’ll notice a fizzy reaction that helps lift deposits.
4. Use a soft-bristle brush or sponge to scrub gently.
5. Rinse the area well with warm water to remove any residue.
6. Wipe tiles dry.
Cleaning tiles doesn’t have to be a chore. With regular light maintenance and the right tools, your tiles will stay fresh, hygienic, and great-looking all year round. No scrubbing marathons necessary!

Maintaining Tiles
Post Installation: Grout Haze Removal
Grout haze is a thin, cloudy film of grout residue left on the surface of tiles after grouting. It occurs when excess grout isn't fully cleaned off during installation and dries on the tile surface. It can dull the tile’s appearance and typically requires a special cleaner or mild acid solution to remove.
It is best that all of the grout haze is removed between 3-10 days and that responsibility lies with the installer (usually a tiler). A minimum of 3 days for the grout to cure and harden is needed before removal, and no longer than 10 days or it will be more difficult to remove.
Do you need to Pre-Grout Seal Porcelain Tiles?
In most cases pre-grout sealing porcelain tiles prior to grouting or installation is not required. However if a dark coloured grout or an epoxy grout is being used, it may require an application of a pre-grout sealer. This is to prevent grout staining and also acts as a grout release and assist in the grout clean-up process. Chat with your tiler or one of our in-store staff before installation to ensure you get the best outcome!
Stain Removal
If you have a stain that you wish to remove that won’t budge with regular cleaning, we stock an AquaMix Stain Remover available for purchase.

An Easy Guide to Tile Finishes
Identify Your Tile Type:
|
Tile Type Quick Reference |
||||||||||
|
· A general guide of tile finish terms can be found by clicking here.
For a full list of our Cleaning and Maintenance product range, see below >>>


Looking to Renovate? Show Off the Before & After Transformation of Your Space & Win!
Every home has a story - tell yours through tile and WIN Cash. We’re celebrating beautiful transformations and bold ideas with monthly cash prizes for fabulous tile projects. Whether you’re designing your dream bathroom, a fresh kitchen look, or tiling an entire home, this is your moment to shine…
$500 is up for Grabs Every Month! | #tilewarehousewin | View Details & Sign up Here!
If you would like to discuss your project further, we can assist.
Contact one of our 33 Stores or discuss with one of our Commercial Representatives.
Tile Warehouse - Making Design & Selection Easy - from the Floor up!


